
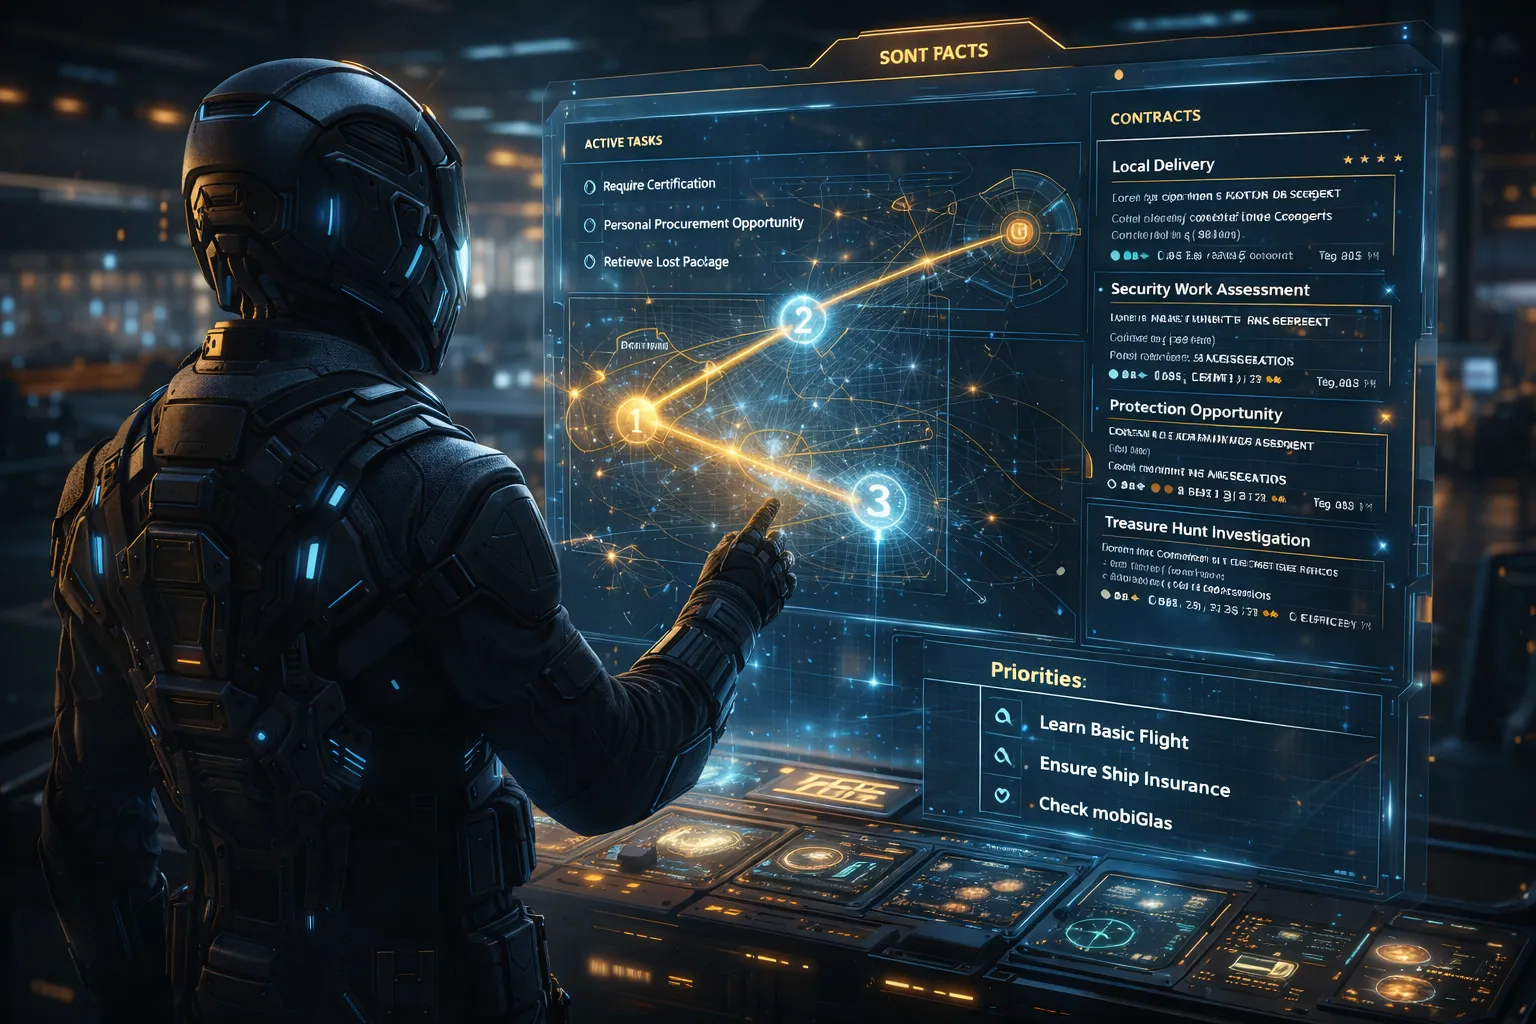
Star Citizen Beginner Tips
New pilot? Use this page to make the first sessions feel repeatable: what to do first, what can wait, and which early mistakes are easiest to avoid.
Your goal: a repeatable first loop
Star Citizen overwhelms beginners because it does not gently funnel you forward — it gives you a huge sandbox, a lot of friction, and very little protection from your own bad early decisions. The easiest way to feel comfortable is to stop trying to “see everything” and instead build one small routine you can repeat without drama.
| What beginners chase | What you should optimize first | Why it works |
|---|---|---|
| Big payouts, far travel, “cool” missions | One local contract type you can finish twice | Consistency reveals the real friction points (landing, navigation, inventory, recovery) |
| Expensive armor / “perfect” loadout | A cheap baseline kit you can replace in 2 minutes | Death becomes a speed bump, not a session killer |
| Multiple objectives at once | One objective + a clean return path | Downtime is the real enemy: travel, claims, elevators, and mistakes |
Think of your early game as a simple cycle: reduce chaos first, add difficulty later, and only optimize for profit once the routine feels stable. If you keep changing planets, ships, gear, and mission types every 20 minutes, you never learn what actually caused the failure — and you burn hours on travel.
How to start Star Citizen: a simple first-steps checklist
If you only follow one thing from this guide, make it this: keep your first session structured. Do the basics in order, avoid expensive detours, and you’ll be playing (not troubleshooting) within minutes.
| Step | Do this | What it prevents |
|---|---|---|
| 1 | Create your RSI account (use a referral code if you haven’t yet), then verify your email. | Missing the signup bonus window and getting locked out by unverified account issues. |
| 2 | On your first login, choose a sensible starter location (not the “hardest city”), then learn the basic loop once: hab → elevator → transit → spaceport. | Getting lost, wasting your first hour on elevators, and starting your session already frustrated. |
| 3 | Set your regeneration point at the local clinic/hospital as soon as you can. | Turning small mistakes into long resets and commuting across the system instead of learning. |
| 4 | Claim your ship, then do one “practice flight”: hangar → takeoff → leave atmosphere → return → land. | Panic controls, bad landings, accidental crimes, and the classic first-session spiral. |
| 5 | Run one simple contract from start to finish — then repeat the same kind once in the same area. | Overwhelm and long travel downtime before you’ve built a reliable routine. |
| 6 | Only then branch out: add one new system per session (navigation, inventory, combat, trading) — not all at once. | Feeling like you’re “making no progress” because you reset your learning every 20 minutes. |
Before you launch
Many bad first impressions are really storage, install, or baseline problems. Do the boring setup once, then keep your first launch simple.
Do this before your first launch
- Install the game on an SSD and leave enough free space for patches.
- Let the launcher finish downloading and verifying completely before you start troubleshooting.
- Open the launcher once, log in, and let it finish syncing before you join friends.
Keep day one simple
- Start with conservative settings and raise visuals later.
- Check your default audio device before group play so you do not lose time on VOIP issues.
- If the game feels rough, fix baseline performance first instead of forcing a long session.
The first 60 minutes: a step-by-step first hour you can repeat
Your first session should feel calm and deliberate — like a short practice run, not a scavenger hunt. The outcome is simple: you know where your stuff is, you can move around without getting lost, and you complete one contract end-to-end.
| Step | Do this | Why it matters | Failure mode |
|---|---|---|---|
| 1 | Pick a home location and orient yourself: hab → elevator → transit → spaceport. | Most “I’m stuck” moments are just lost navigation. | If transit is bugged, relog once; if still broken, switch server region. |
| 2 | Set your regeneration point (clinic) and learn where your local inventory/storage is. | Death is part of the game. Regeneration location determines your recovery time. | If you respawn far away, your session becomes “commute simulator”. |
| 3 | Build a baseline kit (cheap): basic undersuit + helmet. Only add weapons if your loop needs it. | Over-gearing early is the #1 aUEC leak. | If you die with expensive armor, you start playing scared and slow. |
| 4 | Claim a ship if needed, then do one short “test flight”: takeoff → quantum jump → land. | Separates “I can fly” from “I can complete a contract”. | If landing stresses you out, practice at an empty pad before taking a mission. |
| 5 | Accept one local delivery or another easy contract and complete it fully. | You learn the full loop: accept → travel → objective → return → payment. | If you get stranded, claim the ship and take an easier contract next. |
Controls & interaction quirks that confuse almost everyone
Star Citizen has a “context interaction” layer that feels inconsistent until you learn the mental model: you are often interacting with systems (inventory, elevators, seat states), not just objects. Master these early and you’ll avoid half the beginner pain.
The “do this every session” micro-habits
- Read the prompt, then hold the key. Many actions are hold-to-confirm, not tap.
- Do not spam interaction. Spamming can lock you into weird states (doors, seats, elevators).
- Use inner thought deliberately. Enter it, select the thing you want, then exit.
- When in doubt, stop, breathe, and step back. Changing your angle fixes many “can’t interact” moments.
Navigation sanity rules
- Never rush the first takeoff. Gear up, clear the pad, then align.
- Commit to one region. One planet plus nearby moons is enough to learn early loops.
- Mark your return point. Know where you will land before you accept the mission.
- Use the same spaceport. Familiarity reduces mistakes and downtime.
Inventory, storage & death: the beginner mental model
Star Citizen inventory is not one magical backpack. You have multiple layers: local location storage, personal inventory, ship inventory, and sometimes container inventories. Confusion here causes “lost gear”, wasted trips, and expensive re-buys.
| Inventory layer | What it is | Safe beginner use | Common mistake |
|---|---|---|---|
| Local storage | Your items stored at your current location (city/station). | Keep your spare baseline kit here. Rebuild after death fast. | Assuming you can access it everywhere (you can’t). |
| Personal inventory | What your character carries. | Carry only what your loop needs. Keep it cheap early. | Overloading with loot → slower, more risk, more loss. |
| Ship inventory | Storage on the ship (varies by ship). | Emergency supplies: medpens, ammo, a spare undersuit. | Storing your whole net worth on a ship you might lose/claim. |
| Corpse / loot | Items on your body after death (if recoverable). | Only try to recover your gear when the area is calm and you know the way back. | “I must recover my gear” → turns into an hour-long death spiral. |
The key habit: separate your “operational kit” from your “wealth”. Beginners go broke because they deploy wealth on every run. You want the opposite: deploy a cheap kit, finish the run, bank the profit, then upgrade slowly.
Flight basics you actually need
You can learn advanced flight later. Early on, your job is to fly safely, arrive consistently, and land without panic. Treat every flight as three phases: depart → travel → arrive.
| Phase | Do this | Beginner focus |
|---|---|---|
| Depart | Clear the pad, stabilize, then leave atmosphere or no-fly zone calmly. | Don’t collide. Don’t overcorrect. Slow is smooth. |
| Travel | Quantum to a known point. Keep the trip short and local. | Learn basic map usage and how to reorient when lost. |
| Arrive | Reduce speed early, align, then land with intention. | Landing is the skill that determines whether missions feel “easy” or “impossible”. |
Landing discipline
- Decide your landing direction early (don’t “wiggle-fix” at the last second).
- Stabilize above the pad, then descend — don’t dive.
- If it’s messy: abort, climb 200–300m, reset. Aborts are faster than crashes.
Travel discipline
- Keep contracts in one region until stations and recovery spots start to feel familiar.
- Avoid “multi-hop” objectives early (multiple planets, multiple deliveries).
- If you’re confused, return to your known station and reset the session.
Planning before profit
Why most beginners stall: they change plans mid-session and bleed time on travel and recovery.
The game rewards patience more than bravado. A beginner who keeps a simple plan and sticks to it will out-earn a beginner who chases “best money per hour” videos and changes their plan every 15 minutes.
Use this mental model: you are buying time. Every death, claim, long travel, and “where am I?” moment is time leaking out of your session. The goal of planning is not perfection — it’s making your next action obvious.
- Choose one region. One planet + nearby moons.
- Choose one loop. Delivery OR bunker OR another simple beginner loop.
- Choose one fallback. If the mission bugs, you know what to do next.
- Define a stop rule. “If I die twice, I switch to a cheaper loop and reset.”
Pick one mission loop first
Master one forgiving loop twice in a row. Then you’ve earned the right to add complexity.
Your first loop should teach fundamentals and be forgiving. The “best” loop is the one you can complete repeatedly without losing your kit or getting stranded. Once you can run the loop twice in a row, you earn the right to add complexity.
| Loop | What it teaches | Good for | Risk profile | Beginner rule |
|---|---|---|---|---|
| Delivery | Navigation, landing, contract flow, basic time management | New pilots who need structure | Low | Keep it local. Avoid multi-stop deliveries at first. |
| Controlled bunker | FPS basics, cover, reload timing, looting discipline | Players who want combat fundamentals | Medium | Bring a cheap kit. If you die twice, stop and reset. |
| Low-commitment salvage practice | Ship positioning, scanning habits, “work in space” flow | Players who enjoy slower, safer sessions | Low → Medium | Don’t invest in expensive modules early. Learn the loop first. |
How to choose your first loop
- If landing stresses you out, start with delivery and practice two landings per run.
- If you want action but keep dying, do controlled bunker missions and reduce gear value.
- If you enjoy slower systems learning, do salvage practice and keep the session calm and simple.
What NOT to do early
- Don’t accept missions that move you across the system for a small payout.
- Don’t chain objectives. One contract at a time until you stop making travel mistakes.
- Don’t “loot everything”. Loot slows you down and increases death cost.
Risk budget: stop turning every death into a disaster
Early progression collapses when your loadout value grows faster than your success rate. Keep your kit proportional to the mission and your current skill so deaths stay survivable.
Baseline kit
Use it when you are learning, testing stability, or resetting after a bad session.
- Undersuit + helmet + minimal medical supplies.
- Fast rebuild after death.
- Best for delivery, travel, and low-risk practice.
Enhanced kit
Use it once you can finish the loop consistently.
- Baseline kit plus one reliable weapon and modest armor.
- Improves success rate without making every death expensive.
- Good for controlled bunker runs and familiar missions.
High-value kit
Save it for content you understand and rarely fail.
- Specialized gear, multiple weapons, heavier armor.
- Only worth it when you already know the failure modes.
- If one death makes you want to quit, your kit is too expensive.
CrimeStat: how beginners accidentally become criminals
CrimeStat mistakes are common because the game does not always communicate “ownership” or “restricted actions” clearly. The fix is to slow down in high-stakes contexts and follow a few non-negotiable rules.
| Beginner trap | What happens | Safe rule |
|---|---|---|
| Shooting the wrong target in a bunker | You get a crime, guards become hostile, mission fails | Confirm target identity; don’t fire into chaos; use deliberate angles |
| Taking items from places you shouldn’t | Crime or reputation loss depending on context | When unsure: don’t take it. Focus on finishing the contract cleanly first |
| Hovering around pads / no-fly zones carelessly | Fines, conflicts, or forced security reactions | Depart calmly, climb, then route. On approach: slow early |
Quick bug fixes for the most common session killers
Star Citizen is famously buggy. Authority-level play is not “never encountering bugs” — it’s having a calm recovery sequence that gets you back into the loop quickly.
| Problem | Fast recovery | Prevent next time |
|---|---|---|
| Stuck in seat / can’t exit | Try exit key once, then look around for “Exit” prompt; if trapped, relog | Avoid spamming interactions; wait for animations to finish |
| Elevator doesn’t arrive / buttons dead | Back out, try another elevator, then relog; if persistent, change server region | Give elevators a second; avoid rapid button spam |
| Ship not spawning / hangar issues | Store and re-claim; try a different terminal; if still broken, relog | Keep a backup ship option; don’t plan around one fragile state |
| Mission objective not updating | Leave and re-enter area; if stuck, abandon and take the same mission type again | Prefer contracts with clear “finish states” early |
| Stranded without a ride | Claim a ship, call a transport (if available), or request help in chat | Always know your fallback: where to respawn and how to reset |
The meta-skill here is emotional: don’t escalate. Bugs invite you to “push harder” — which wastes time. Your recovery rule is simple: try twice, then reset (relog, re-claim, or re-take the mission).
When to rent, when to buy, and what can wait
Early spending should either reduce downtime or increase success rate in your chosen loop. Anything else is entertainment — which is fine, but it is not “progression”.
| Decision | Default for beginners | Only change it when… |
|---|---|---|
| Renting ships | Rent to test a loop before committing | You have a stable loop and know the ship solves a specific problem |
| Buying ships | Delay purchases until you know your preferred gameplay | You can describe exactly how the ship increases profit or reduces downtime |
| Buying gear | Keep it cheap; build spares in local storage | You’re doing content where gear meaningfully changes outcomes |
| “Cool stuff” purchases | Budget it as entertainment, not progress | You’re comfortable with your income and recovery routine |
After this guide: your next 3 sessions
| Session | Goal | Stop rule |
|---|---|---|
| 1 | Finish one local contract end-to-end twice | If you die twice: downgrade kit and restart the loop |
| 2 | Repeat the same loop and reduce downtime (fewer mistakes) | If the loop bugs: abandon and re-run the same type |
| 3 | Add one controlled complexity: a new location or slightly harder mission | If stress rises: revert to your stable loop |
If you do those three sessions cleanly, you will have something most new players never build: a stable foundation that makes the rest of Star Citizen feel “learnable”.
Best next page
- First session guide — open this if you want the cleanest next in-game walkthrough.
- Performance guide — use this when FPS or stutter is the real blocker.
- Earn aUEC fast — open this after your first loop feels stable.
- Free Fly guide — use this instead if you are still deciding whether to buy.
Beginner tips FAQ
What should I do first after spawning in?
Set your regeneration point, learn where your local storage is, then run one simple contract end‑to‑end (accept → travel → objective → return). Your first win is consistency — finish the same small loop twice before you chase bigger payouts.
Do I need to buy weapons and armor immediately?
No. Treat gear as a risk budget. Early on, run low‑risk loops with a minimal kit. Only step up gear when you can reliably complete the content and recover quickly if you die.
Why do beginners lose so much money?
Most losses come from downtime: failed travel, getting stranded, dying with an expensive kit, or trying to do too much in one session. A smaller routine beats ambitious wandering every time.
What is the best first mission for a new player?
Local delivery contracts are the easiest way to learn navigation, landing, and how missions work. If you want combat, do controlled bunker missions in the same region and keep your loadout cheap until you stop dying to surprise angles and AI spikes.
Can I add a referral code later?
Usually only during signup or within a short window after account creation. If you’re creating an RSI account, use a referral link up-front to avoid missing the bonus.
Should I rush ship upgrades?
Not early. Upgrades are only worth it once your regular session feels stable enough that the upgrade saves time or frustration. First get comfortable with the basics, then optimize.